FREE Beginner Shoulder Slides Tutorial
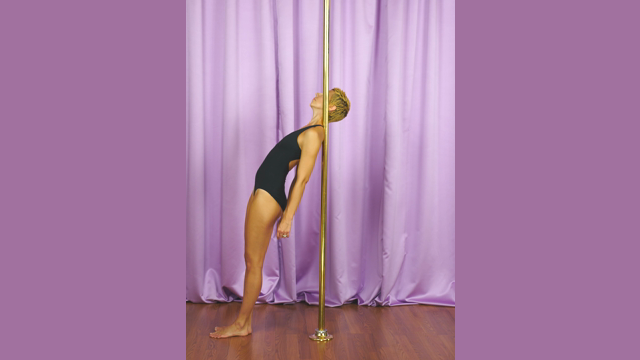
Even if you’re a total beginner you can start the process of preparing for Shoulder Mounts using this tutorial. Feeling skin irritation is normal but if you feel other pain check your placement of the pole on the trapezius and remember to use your hands and arms too!
Did you know your thumb position also matters when it comes using the cup grip? Let’s take a look.
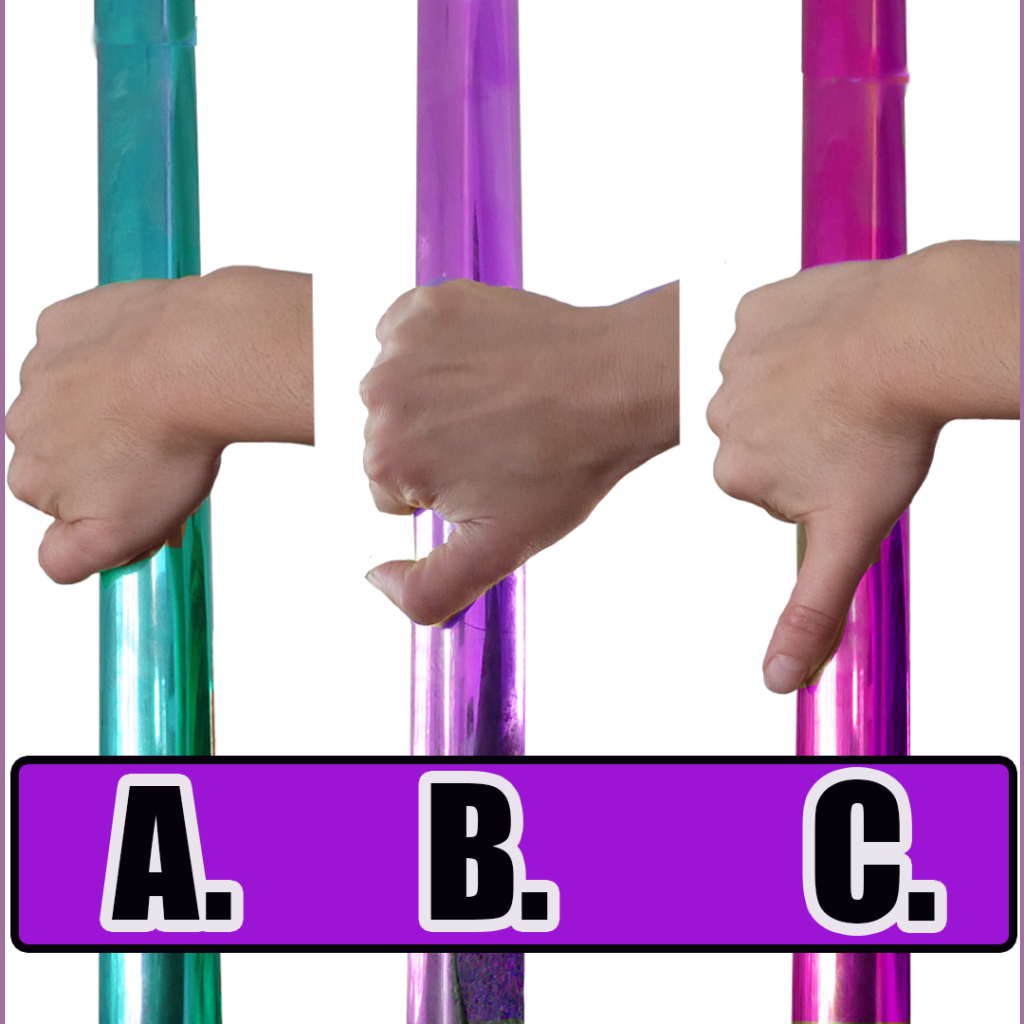
A. Thumb closed – This is the most common thumb placement you’ll see, but if you feel like you can’t manage a secure grip, try the thumb open (B) option instead!
B. Thumb open. My personal favorite. This one is great for increasing stability!
C. Thumb Extended. Useful for some transitions from Shoulder mount!
When working on the Shoulder Side try each of these thumb positions and see which one you prefer for this trick. I’d love to hear which one you choose.
Muscles Strengthened : GLUTES / ABDOMINALS / ERECTOR SPINAE / LATISSIMUS / RHOMBOIDS / BICEPS / HANDS
is there a trick to doing this in heels or is it just a matter of having enough foot flexibility so the toes can get on the floor?
When doing this in heels the back foot is the anchor using the ball of the foot, the front sliding foot is just gliding on the floor. I turn my heel to the side usually.
Aha!!! that’s the ticket. Thank you!!! Love your treasure trove of videos <3
How do you stop your shoulder from skipping down the pole (from skin grip) and keep it looking smooth? I keep having trouble with that part.
That will happen when you have warm skin with a little moisture on it from sweat. You can either wear a tee shirt when working on these or focus on using the hands more, this takes a lot of practice tho.